/
How to take Screenshots
How to take Screenshots
- Nidhi Dharithreesan (Unlicensed)
- B. Nichelle Hicks (Unlicensed)
Owned by Nidhi Dharithreesan (Unlicensed)
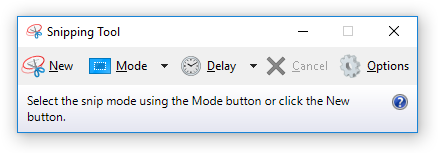
- On a PC: Search the Start menu for the "Snipping Tool", a program that allows you take screenshots from Windows Vista onwards. It is typically located in the Accessories folder if you need to locate it without search. Once open, from the "New" drop-down you can select a "Full-screen Snip" or other option, and then with the "New" button take that screenshot. The Snipping Tool will automatically copy your screen-shot as an image, and you can save it by selecting "Save as..." from the File menu.
- On a Mac: Hit Command+Shift+3 (all three buttons at once) for full-screen screenshots and Command+Shift+4 to select an area. Screenshots are placed on the Desktop automatically.
- On Firefox: Firefox has added a screenshot capability inside its browser. Right-click on the page and select "Take Screenshot" and select "Save Full Page".
- On Linux: Depending on the distribution, the Print Screen (PrtScn) button produces screen-shots that are saved to the Desktop folder. Alternatively the GNU Image Manipulation Program (GIMP) has a screen-shot tool under the File, Acquire menu.
- On iPhone: Hit the power button and the home button at the same time. This may take some practice.
- Alternate Method: Should all those fail, you can always take a photo with a smart phone.
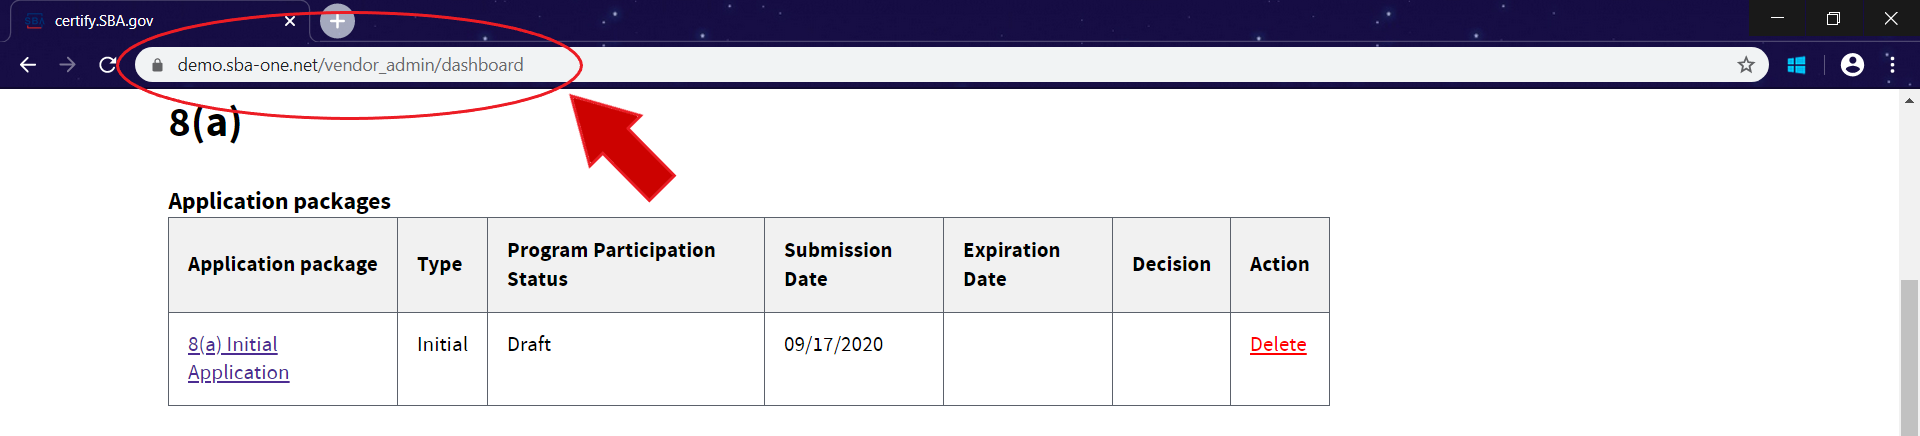
When taking a screenshot to provide to the Certify Help Desk, please be sure to include the URL of the page in your image; the URL is circled in red in the example screenshot below.
Windows Snipping Tool:
, multiple selections available,
Related content
Upload and View Documents
Upload and View Documents
More like this
SAM.gov Explained
SAM.gov Explained
Read with this
How to take Screenshots
How to take Screenshots
More like this
WOSB/EDWOSB
WOSB/EDWOSB
Read with this
Upload and View Documents
Upload and View Documents
More like this
Common Error Notices
Common Error Notices
Read with this